
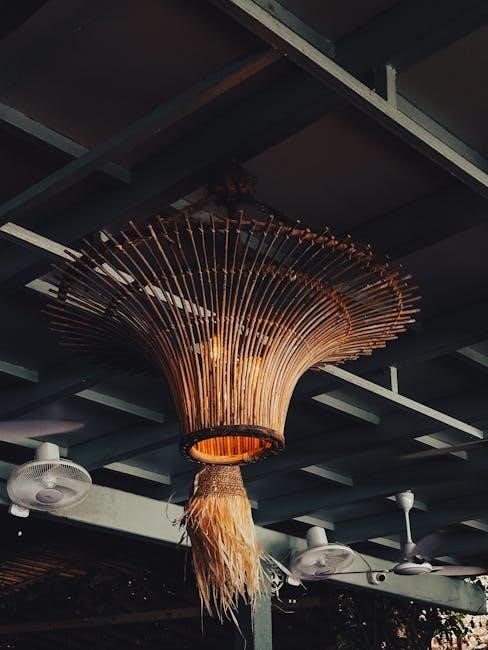
Fanimation Ceiling Fans: A Comprehensive Manual Guide
Fanimation offers stylish‚ high-performance ceiling fans. This guide‚ referencing model FP8026 (net weight 11.4 kg/25.1 lbs)‚ provides essential instructions for safe operation and maintenance.
Understanding Your Fanimation Ceiling Fan
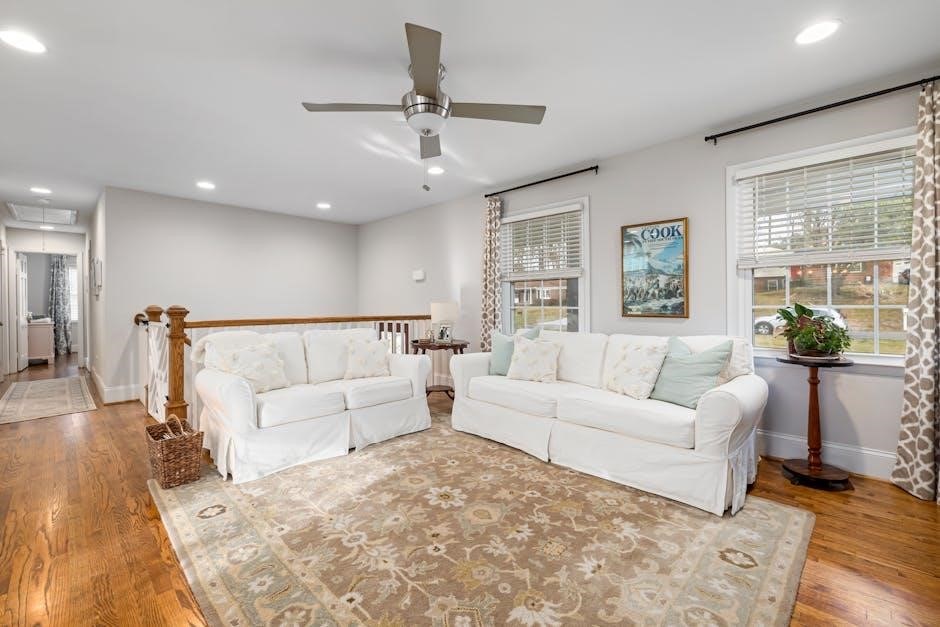
Fanimation ceiling fans are designed for both aesthetic appeal and functional performance‚ offering a blend of style and comfort to your living spaces. This section introduces the core components and operational principles of your new fan. Familiarizing yourself with these aspects will ensure optimal use and longevity.
Your Fanimation fan‚ like the FP8026 model‚ consists of a motor housing‚ fan blades‚ a downrod (or flush mount adapter)‚ a lighting kit (if included)‚ and a control system – either remote or wall-mounted. The motor drives the blades‚ circulating air and creating a cooling breeze. The reverse function allows for efficient air distribution during both warm and cool seasons.
Understanding the fan’s control system is crucial. Remote controls offer convenient speed and light adjustments‚ while wall controls provide a more permanent solution. Proper operation‚ as detailed in subsequent sections‚ maximizes energy efficiency and ensures a comfortable environment. Always refer to the specific manual for your model.
Fan Model Identification & Documentation
Accurate identification of your Fanimation ceiling fan model is paramount for accessing the correct documentation and support resources. The model number‚ such as FP8026‚ is typically located on a sticker affixed to the motor housing. This sticker also contains important information like the manufacturing date and electrical specifications.
Retain your original purchase receipt and this owner’s manual for warranty claims and future reference. Fanimation provides detailed documentation‚ including installation guides‚ parts lists‚ and troubleshooting tips‚ accessible through their official website. Having the model number readily available streamlines the process of finding relevant information.
Proper documentation ensures you can perform maintenance‚ order replacement parts‚ and understand the specific features of your fan. Online resources often include frequently asked questions and video tutorials. Keep these resources bookmarked for easy access when needed‚ maximizing your fan’s lifespan.
Safety Precautions & Warnings
IMPORTANT: Before installing or servicing your Fanimation ceiling fan‚ always disconnect the power supply at the circuit breaker or fuse box. Failure to do so could result in serious injury or death. Installation should be performed by a qualified electrician.
Ensure the ceiling junction box is capable of supporting the fan’s weight (approximately 11.4 kg / 25.1 lbs for model FP8026). Never mount the fan to a ceiling that is not structurally sound. Use only Fanimation-approved mounting hardware and accessories.
Do not operate the fan if any parts are missing or damaged. Keep children and pets away from the installation area. Avoid inserting objects into the rotating blades. Regularly inspect the blades and mounting hardware for looseness. This fan is designed for indoor use only; outdoor exposure can create hazards.
Installation Guide: Step-by-Step
Preparation is key! Begin by carefully unpacking your Fanimation ceiling fan‚ verifying all components are present. Consult the parts list in your model’s documentation (like FP8026). Ensure the ceiling junction box is securely mounted and rated to support the fan’s weight.
Mounting: Attach the mounting bracket to the junction box‚ ensuring a firm connection. Follow the wiring diagram precisely. Wiring: Connect the fan wires to the corresponding house wires (black to black‚ white to white‚ ground to ground). Secure wire connections with wire connectors.
Carefully lift the fan motor assembly and hang it on the mounting bracket. Secure the fan to the bracket using the provided screws. Finally‚ attach the blades and light kit (if applicable)‚ following the specific instructions for your Fanimation model.
Preparing for Installation: Tools & Checklist
Before beginning your Fanimation ceiling fan installation‚ gather the necessary tools for a smooth process. You’ll require a Phillips head screwdriver‚ a flathead screwdriver‚ wire strippers‚ wire connectors‚ and electrical tape. A voltage tester is crucial for safety‚ confirming power is off.
Checklist: Verify you have all fan components – motor assembly‚ blades‚ mounting bracket‚ downrod (if applicable)‚ light kit (if applicable)‚ and remote receiver (if applicable). Ensure the ceiling junction box is appropriately rated for the fan’s weight‚ especially for models like FP8026 (11.4 kg/25.1 lbs).
A ladder‚ safety glasses‚ and work gloves are recommended. Finally‚ have the owner’s manual readily available for model-specific instructions and diagrams. Proper preparation minimizes delays and ensures a safe‚ successful installation.

Mounting the Fan to the Ceiling Junction Box
Safety First: Ensure power to the junction box is completely OFF at the breaker before commencing. Carefully attach the mounting bracket securely to the ceiling junction box‚ using screws appropriate for your ceiling type. Verify the box is rated to support the fan’s weight – crucial for models like the FP8026 (25.1 lbs).
If using a downrod‚ insert it into the fan motor assembly and secure it with the provided pin and set screw. Carefully lift the fan assembly and hang it on the mounting bracket using the provided hook (if available). This frees your hands for wiring.
Double-check the bracket’s stability before releasing the fan. A properly mounted bracket is fundamental to preventing wobbling and ensuring safe operation. Refer to your specific Fanimation model’s diagram for precise bracket installation details.
Wiring the Fan: Color Codes & Connections
Caution: With the power OFF at the breaker‚ carefully connect the fan wires to the corresponding house wires within the junction box. Typically‚ Fanimation fans follow standard color coding: Black (Hot/Live)‚ White (Neutral)‚ and Green or Bare Copper (Ground).
Use wire connectors (wire nuts) to securely join the wires‚ ensuring no bare wire is exposed. If your fan includes a blue wire‚ it’s typically for the light kit and connects to the switched hot wire. Double-check all connections against your fan’s wiring diagram – essential for models like the FP8026.
Gently tuck the wires into the junction box‚ avoiding pinching or strain. Secure the canopy to the mounting bracket‚ concealing the wiring. Verify all connections before restoring power. Incorrect wiring can damage the fan or create a safety hazard.

Operating Your Fanimation Fan
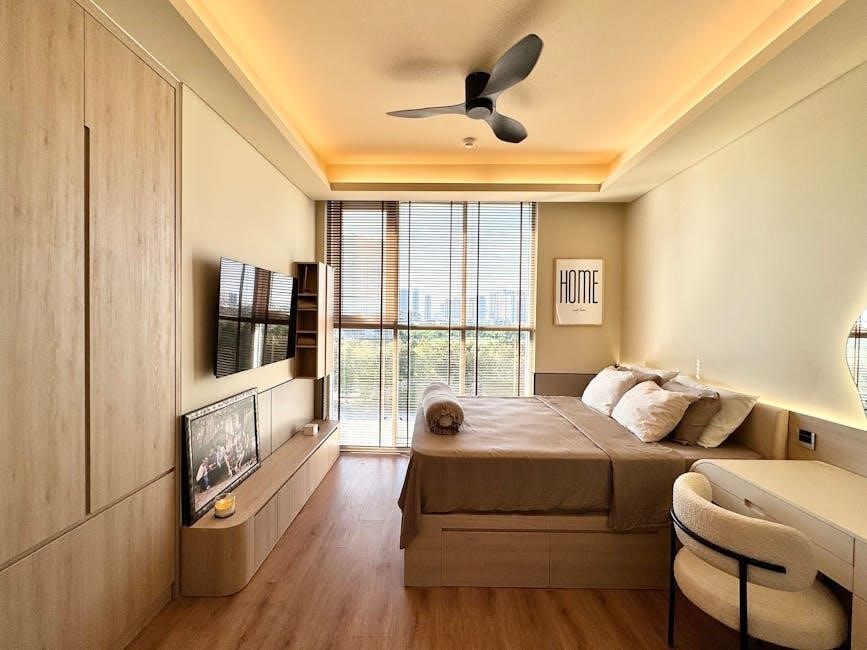
Fanimation fans offer versatile operation‚ typically controlled via remote or wall control. Familiarize yourself with your specific model’s controls. The remote usually manages fan speed‚ light dimming (if applicable)‚ and the reverse function. Wall controls provide similar functionality‚ often with preset speed options.
Fan speed settings generally include Low‚ Medium‚ and High‚ allowing you to adjust airflow to your comfort. The reverse function is crucial for seasonal use; in summer‚ it creates a cooling breeze‚ while in winter‚ it redistributes warm air trapped near the ceiling.
Refer to your FP8026 owner’s manual for detailed programming instructions for the remote‚ if needed. Ensure the receiver unit within the fan canopy is properly synchronized with the remote for optimal performance.
Remote Control Functions & Programming
Your Fanimation remote control is the primary interface for operating your ceiling fan. Common functions include power on/off‚ fan speed adjustment (Low‚ Medium‚ High)‚ light control (dimming and on/off)‚ and reverse direction. Some remotes feature a “breeze” mode for fluctuating airflow‚ mimicking natural winds.
Programming may be required to synchronize the remote with the fan’s receiver unit‚ typically located within the canopy. This usually involves a simple pairing process‚ often initiated by cycling the power switch. Consult your FP8026 owner’s manual for specific instructions‚ as procedures vary by model.
Ensure fresh batteries are installed for reliable operation. If the remote becomes unresponsive‚ re-pairing may be necessary. Avoid exposing the remote to excessive moisture or direct sunlight.
Wall Control Operation (If Applicable)

Some Fanimation ceiling fans are designed for use with a dedicated wall control‚ offering a convenient alternative to a remote. These controls typically mirror the remote’s functionality – power‚ speed‚ light control‚ and reverse. Installation requires basic electrical wiring knowledge; if unsure‚ consult a qualified electrician.
Wall controls often feature a slider or buttons for fan speed adjustment and a separate dimmer for light intensity. Ensure the wall control is compatible with your fan model (like FP8026) before installation. Programming is generally not required for wall controls‚ as they connect directly to the fan’s receiver.
Verify the power supply to the wall control is switched off during installation. If the control malfunctions‚ check the wiring connections and ensure the breaker hasn’t tripped.
Fan Speed Settings & Reverse Function
Fanimation fans offer multiple speed settings‚ typically controlled via remote or wall control‚ allowing customized airflow. Lower speeds are ideal for gentle breezes‚ while higher speeds maximize cooling. Experiment to find your preferred comfort level.
The reverse function is crucial for seasonal efficiency. In warmer months‚ the fan should rotate counter-clockwise to create a downward airflow‚ providing a cooling effect. During colder months‚ switch to clockwise rotation at a low speed. This gently circulates warm air trapped near the ceiling‚ reducing heating costs.
Models like the FP8026 often include a dedicated reverse button on the remote. Ensure the blades are fully stopped before changing direction to prevent motor strain. Proper use of the reverse function optimizes year-round comfort and energy savings.
Maintenance & Troubleshooting
Regular maintenance ensures optimal Fanimation fan performance and longevity. Dust accumulation on blades and the motor housing reduces efficiency and balance. Clean regularly with a soft‚ damp cloth – avoid harsh chemicals or abrasive cleaners.
Common issues include lack of power‚ wobbling‚ and unusual noises. If the fan doesn’t operate‚ check the power supply and remote batteries. Wobbling often indicates unbalanced blades; refer to the blade balancing section for instructions. Noises may stem from loose screws or motor issues – tighten screws and consult a qualified technician if the problem persists.
Proper lubrication‚ as outlined in the manual (referencing models like FP8026)‚ is vital for smooth motor operation. Ignoring these steps can void your warranty and shorten the fan’s lifespan.
Cleaning Your Fan: Blades & Motor Housing
Maintaining a clean Fanimation ceiling fan is crucial for optimal performance and aesthetic appeal. Dust and grime accumulate on the blades and motor housing‚ reducing airflow and potentially causing imbalance. Before cleaning‚ always turn off the power supply to the fan at the circuit breaker.
For blades‚ use a soft‚ damp cloth. Microfiber cloths are ideal as they trap dust effectively. Avoid using liquids directly on the wood or metal; spray the cloth instead. Gently wipe each blade‚ ensuring both sides are clean. The motor housing can be cleaned similarly‚ paying attention to vents to remove accumulated dust.
Do not use abrasive cleaners‚ solvents‚ or scouring pads‚ as these can damage the finish. Regular cleaning – monthly is recommended – will keep your Fanimation fan looking and functioning its best‚ like model FP8026.
Troubleshooting Common Issues: No Power‚ Wobbling‚ Noise
If your Fanimation ceiling fan isn’t working‚ start with the basics. Check the circuit breaker to ensure power is supplied. Verify all wiring connections within the junction box are secure‚ referencing the installation guide. If the fan receives power but doesn’t operate‚ consult a qualified electrician.
Wobbling often indicates unbalanced blades. Utilize the blade balancing kit (typically included) and follow the blade balancing procedures outlined in this manual. Ensure all blade screws are tightened securely. Excessive noise can stem from loose components; tighten all screws and connections.
For model FP8026 and other Fanimation fans‚ persistent issues may require professional attention. Do not attempt repairs beyond your expertise. Always prioritize safety and disconnect power before inspecting or troubleshooting.

Lubrication & Motor Care
Fanimation ceiling fans are designed for long-lasting‚ reliable performance with minimal maintenance. However‚ periodic motor care is recommended. Do not attempt to disassemble the motor housing; this will void your warranty. The motor is sealed and generally requires no oiling.
Dust accumulation can affect motor efficiency. Regularly clean the exterior of the motor housing with a soft‚ dry cloth. Avoid using liquids or abrasive cleaners. For model FP8026 and similar models‚ ensure the motor vents are unobstructed to allow for proper cooling.
If you notice unusual motor noises or a decrease in performance‚ discontinue use and contact Fanimation customer support. Proper care extends the life of your fan and ensures optimal operation. Avoid exposing the fan to excessive moisture.
Blade Balancing Procedures
Fanimation ceiling fans are engineered for smooth‚ wobble-free operation. However‚ slight imbalances can occur during shipping or over time. If you experience wobbling‚ follow these balancing procedures. First‚ ensure all blade screws are securely tightened.
A balancing kit (often included with your fan‚ like model FP8026) contains weights and a clip. Attach the clip to the trailing edge of one blade‚ midway between the blade holder and the tip. Turn the fan on at medium speed. If wobbling improves‚ keep the clip there.
If wobbling worsens‚ move the clip to another blade. Repeat until the best position is found. Then‚ attach a balancing weight to the top of the blade‚ directly above where the clip was positioned. Re-test and adjust as needed.
Replacing Light Bulbs & Glass Shades
Fanimation ceiling fans often include integrated lighting. To replace a light bulb‚ always disconnect power at the circuit breaker. Allow the bulb to cool completely before handling. Consult your fan’s specifications (referencing models like FP8026) for the correct bulb type and wattage.
Gently remove the glass shade‚ noting its orientation for reinstallation. Unscrew the old bulb and replace it with a new one of the specified type. Avoid touching the new bulb with bare hands; use a clean cloth.
Carefully reattach the glass shade‚ ensuring it is securely fastened. Restore power at the breaker and test the light. If the shade is damaged‚ replace it with a Fanimation-approved replacement to maintain safety and aesthetics.
Warranty Information & Customer Support
Fanimation stands behind the quality of its ceiling fans‚ including models like the FP8026. A limited lifetime warranty covers the fan motor‚ while a one-year warranty applies to all other components‚ including remote controls and finishes. This warranty protects against defects in materials and workmanship under normal use.
To initiate a warranty claim‚ retain your original purchase receipt and contact Fanimation customer support. Proof of purchase is essential. The warranty does not cover damage resulting from improper installation‚ misuse‚ or accidents.

For assistance with installation‚ operation‚ or warranty inquiries‚ visit the Fanimation website or call their dedicated customer support line. Their team can provide troubleshooting advice and guide you through the claims process.
Fanimation Model-Specific Guides (FP8026 Example)
This section details specific guidance for the FP8026 Marea ceiling fan‚ weighing 11.4 kg (25.1 lbs). The FP8026‚ as outlined in the owner’s manual‚ features unique blade attachment procedures and wiring configurations. Always consult the dedicated FP8026 installation supplement for precise details.
Particular attention should be paid to the remote control programming steps‚ which may differ from other Fanimation models. The FP8026’s remote utilizes a specific frequency and pairing process. Refer to the included diagram for correct wiring connections‚ ensuring proper fan operation.
Troubleshooting specific to the FP8026‚ such as light kit compatibility and blade balancing‚ is also covered in the model-specific guide. Download the latest version from the Fanimation website for the most up-to-date information.
Disposal & Recycling Information

Responsible disposal of your Fanimation ceiling fan is crucial for environmental sustainability. Do not dispose of the fan with regular household waste. Electronic components contain materials requiring specialized recycling processes.
Check with your local waste management authorities for designated e-waste collection points or recycling programs. Many communities offer convenient drop-off locations for electronic devices. Disassembling the fan yourself is discouraged due to potential hazards.
Consider donating your working fan to a charitable organization or reuse center. If recycling is necessary‚ separate the metal components (motor housing‚ mounting bracket) from the plastic and electronic parts. This facilitates efficient material recovery.
Fanimation encourages environmentally conscious practices and supports responsible recycling initiatives. Consult local regulations for specific disposal guidelines in your area.