Duraflame Heater Manual: A Comprehensive Guide
Welcome! This manual provides essential guidance for your Duraflame heater, covering operation, safety, troubleshooting, and maintenance, ensuring optimal performance and longevity.
Understanding Your Duraflame Heater
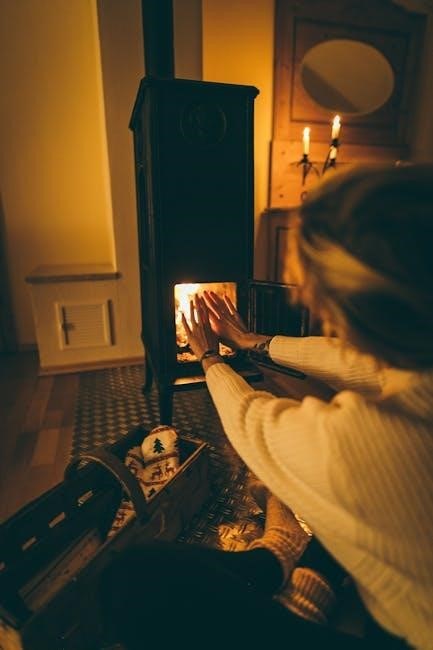
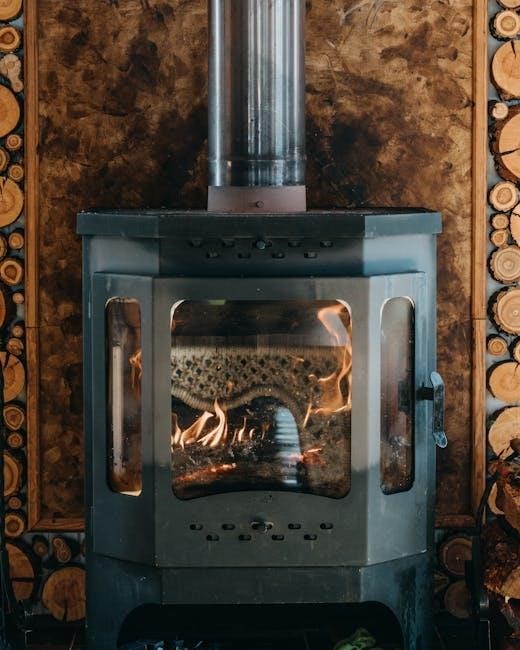
Your Duraflame heater utilizes infrared quartz technology to efficiently warm your space, mimicking the cozy ambiance of a traditional fireplace without the mess or hazards. These heaters are designed for supplemental heating, meaning they are best suited for warming a single room or area, not an entire house.
Duraflame heaters come in various models, each with unique features like adjustable flame effects, multiple heat settings (High, Low, and No Heat), and built-in safety mechanisms. Understanding these features is crucial for safe and effective operation. The control panel, typically located on the back or side of the unit, allows you to manage these settings.
Many models include error codes displayed on the unit to help diagnose potential issues. Familiarizing yourself with these codes, as detailed later in this manual, will streamline the troubleshooting process. Regular maintenance, such as dust removal, is vital for maintaining optimal performance and preventing malfunctions.
Model Identification and Features
Identifying your specific Duraflame heater model is the first step towards accessing tailored support and understanding its unique features. Locate the model number – typically found on a sticker on the back or bottom of the unit (e.g., DFI-5010-01, DFS-550-12). This number is crucial when contacting customer support or ordering replacement parts.
Common features across many Duraflame models include adjustable thermostat controls, allowing you to set your desired room temperature. The flame effect can often be operated independently of the heat, providing ambiance without added warmth. Some models boast multiple brightness levels for the flame, enhancing the visual experience.
Safety features are paramount; most Duraflame heaters incorporate overheat protection, automatically shutting off the unit if it becomes too hot. A cool-touch exterior minimizes burn risks. Understanding these features ensures safe and efficient operation of your Duraflame heater.
Safety Precautions
Crucially, always operate your Duraflame heater on a stable, level surface, away from flammable materials like curtains or furniture. Maintain a minimum clearance of three feet around the unit to prevent fire hazards. Never leave the heater unattended while in operation, and keep it out of reach of children and pets.
Inspect the power cord regularly for damage – frayed wires or cracks pose a significant electrical shock risk. Do not attempt to repair a damaged cord yourself; replace it immediately. Avoid using extension cords, as they can overheat. If you smell burning or notice hot wiring, immediately unplug the heater and discontinue use.
Ensure the heater is properly grounded. Never operate the heater with wet hands or in damp environments. Disconnect the heater from the power outlet before cleaning or performing any maintenance. Ignoring these precautions could lead to serious injury or property damage.

Operation Instructions
Begin by plugging in your Duraflame heater, then utilize the rear-mounted buttons for power, heat selection (High/Low/No Heat), and flame effect adjustments.
Powering On and Off
Initiating Operation: To power on your Duraflame heater, locate the power button, typically situated on the back panel of the unit. Pressing this button activates the heater, and you should observe the buttons illuminating, indicating power is supplied. If the buttons do not light up, verify the power cord is securely connected to a functioning outlet – see the troubleshooting section for further assistance.
Deactivating the Heater: To turn off the heater, simply press the power button again. The buttons will extinguish, confirming the unit is powered down. Ensure the heater is completely off before disconnecting the power cord from the outlet. Avoid using the power cord to switch the heater on or off, as this can potentially damage the unit. Always allow the heater to cool down completely before storing it.
Important Note: Some models may feature an automatic shut-off function for safety purposes. Refer to your specific model’s documentation for details.
Heat Settings (High/Low/No Heat)
Adjusting Heat Output: Your Duraflame heater offers multiple heat settings to customize your comfort level. Typically, there are three options: High, Low, and No Heat. These settings are usually controlled by a dedicated button on the heater’s control panel, often labeled “Hi/Lo/Off” or similar.
High Heat: Selecting “High” provides maximum heat output, ideal for quickly warming a room. Use this setting cautiously, as it consumes more energy. Low Heat: The “Low” setting delivers a gentler warmth, suitable for maintaining a comfortable temperature over extended periods and conserving energy.
No Heat (Flame Effect Only): The “No Heat” option allows you to enjoy the visual ambiance of the flame effect without any heat being generated. This is perfect for use during warmer months or when you simply desire the aesthetic appeal of a fireplace. Remember to cycle through the settings to find your preferred comfort level.
Flame Effect Control
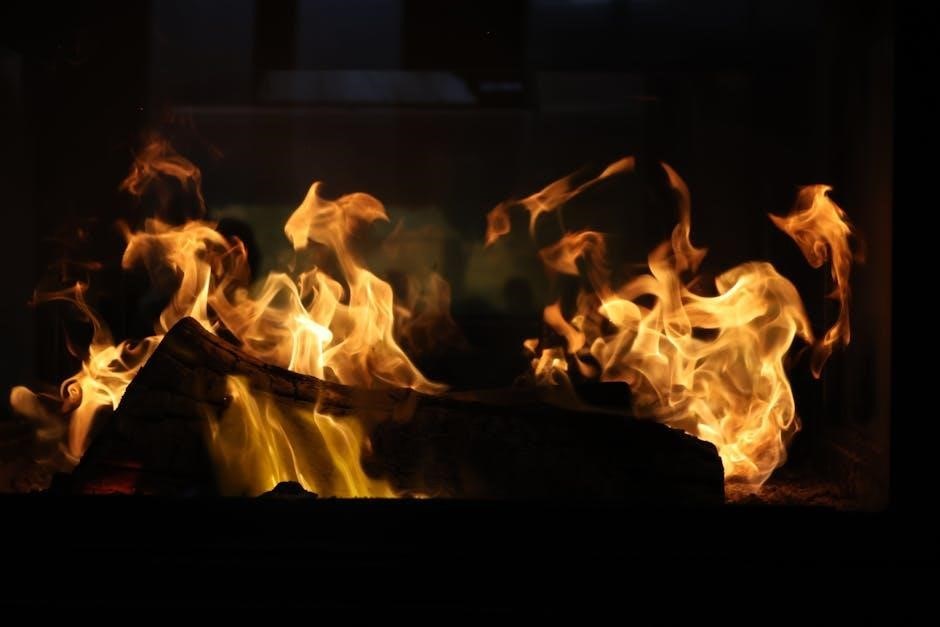
Enhancing the Ambiance: Duraflame heaters feature a realistic flame effect, adding a cozy atmosphere to any room. Control over this effect often includes brightness levels and, in some models, flame speed or color variations. These controls are typically found on the heater’s control panel, separate from the heat settings.
Adjusting Brightness: Many heaters allow you to adjust the flame’s brightness, ranging from a subtle glow to a vibrant display. Experiment with different levels to achieve your desired aesthetic. Flame Speed/Color: Some advanced models offer control over the flame’s speed or even its color, providing further customization options.
Independent Operation: Importantly, the flame effect can often be operated independently of the heater. This allows you to enjoy the visual appeal year-round, even without needing supplemental heat. Refer to your specific model’s instructions for detailed control options.
Troubleshooting Common Issues
Addressing Problems: This section details solutions for frequent Duraflame heater issues, including error codes, power failures, and flame malfunctions, for swift resolution.
Error Code 1: Display Shows 1
Understanding Error Code 1: When your Duraflame heater displays “1” on the screen, it typically indicates a communication error within the internal system. This often relates to the thermistor, a crucial component responsible for temperature sensing. A faulty or disconnected thermistor prevents accurate temperature readings, triggering the error code.
Troubleshooting Steps: First, ensure the heater is completely powered off and unplugged from the electrical outlet. Carefully inspect the thermistor and its wiring connections, looking for any signs of damage or disconnections. If a connection appears loose, gently re-secure it. If the thermistor itself seems damaged, it will likely require replacement by a qualified technician.
Important Note: Attempting to bypass or repair the thermistor without proper knowledge can be dangerous. Always prioritize safety and consult a professional if you are uncomfortable performing these checks. Ignoring this error code can lead to inaccurate heating or potential safety hazards.
Error Code 2: Display Shows 2
Decoding Error Code 2: The appearance of “2” on your Duraflame heater’s display generally signifies an issue with the heater’s flame sensor. This sensor is vital for detecting the presence of the flame effect and ensuring safe operation. When the sensor malfunctions or doesn’t detect the flame correctly, the heater will display this error code and may shut down as a safety precaution.
Troubleshooting Guidance: Begin by disconnecting the heater from the power source. Locate the flame sensor – it’s typically a small metal rod positioned near the flame effect area. Gently clean the sensor with fine sandpaper to remove any dust or debris that might be interfering with its function.
Re-evaluation & Safety: After cleaning, carefully reinstall the sensor, ensuring it makes proper contact. Power on the heater and observe if the error code persists. If the problem continues, a replacement sensor might be necessary. Prioritize safety and consult a qualified technician if you’re unsure about any step.
Error Code 3: Display Shows 3
Understanding Error Code 3: A “3” displayed on your Duraflame heater indicates a potential thermistor failure or an issue with the heater’s temperature sensing system. The thermistor is crucial for monitoring the internal temperature and preventing overheating. When it malfunctions, the heater may display this error to protect itself and ensure user safety.
Initial Steps & Inspection: First, disconnect the heater from the power outlet. Carefully inspect the wiring connected to the thermistor for any signs of damage or loose connections. If visible damage is present, do not attempt repairs yourself; contact a qualified technician.
Further Action & Safety: If the wiring appears intact, the thermistor itself may be faulty and require replacement. Due to the safety-critical nature of this component, professional diagnosis and repair are strongly recommended. Never operate the heater if error code 3 persists, as it could pose a fire hazard.
No Power – Buttons Do Not Light Up
Troubleshooting Complete Power Loss: If your Duraflame heater displays no power – meaning the buttons do not illuminate – begin with the simplest checks. First, ensure the power cord is securely plugged into a functioning electrical outlet. Test the outlet with another device to confirm it’s providing power.
Cord and Circuit Breaker Inspection: Examine the power cord for any visible damage, such as cuts or fraying. If damage is found, discontinue use immediately and replace the cord. Check your home’s circuit breaker or fuse box to verify the heater’s circuit hasn’t tripped or blown.
Internal Fuse Check (If Applicable): Some Duraflame models have an internal fuse. Consult your specific model’s documentation to locate and inspect it. If the fuse is blown, replace it with the correct amperage rating. If problems persist, professional assistance is advised.
Heater Does Not Turn On Manually ⎼ 5a: No Incoming Power
Addressing Manual Start Failures – No Power: If your Duraflame heater fails to turn on manually, and the issue stems from a lack of incoming power, a systematic approach is crucial. Begin by reconfirming the power cord is firmly connected to both the heater and a working electrical outlet. Utilize another device to verify the outlet’s functionality.
Circuit and Cord Verification: Inspect the circuit breaker dedicated to the heater. A tripped breaker will prevent operation. Reset it if necessary. Carefully examine the power cord for any signs of physical damage – cuts, fraying, or exposed wires. A damaged cord poses a safety hazard and requires replacement.
Voltage Compatibility: Ensure the heater’s voltage requirements match your household’s electrical supply; Incorrect voltage can prevent startup. If issues persist after these checks, consult a qualified electrician.

Heater Does Not Turn On Manually ⸺ 5b: Improper Operation
Addressing Manual Start Failures – Operational Errors: When your Duraflame heater doesn’t respond to manual activation due to improper operation, review the basic controls; Confirm the power button is engaged; some models require a deliberate press and hold. Verify the heat setting isn’t set to ‘No Heat’ if you intend to activate the heating function.
Button Functionality Check: Ensure you’re utilizing the correct buttons for your model. Some heaters feature separate buttons for power and heat selection (High/Low). A brief press might cycle through settings, while a longer press initiates power. Refer to your model’s specific instructions.
Resetting the Unit: Disconnect the heater from the power source for several minutes, then reconnect. This can sometimes reset internal controls. If problems continue, consult the full manual for detailed operational guidance.
Heater Does Not Turn On Manually ⎼ 5c
Unspecified Manual Start Failure – Further Investigation: If your Duraflame heater fails to power on manually despite checking power supply and operational procedures (5a & 5b), a more complex issue may exist. This often indicates an internal component malfunction requiring professional attention.
Internal Component Check (Caution): Do not attempt to disassemble the heater yourself. Internal components can pose electrical hazards. A qualified technician should inspect the heater’s control board, thermal fuse, or other internal parts.
Contacting Support is Crucial: Due to the potential complexity and safety risks, contacting Duraflame’s customer support (see ‘Contacting Support’ section) is strongly recommended. Provide your model number and a detailed description of the issue. Attempting self-repair could void your warranty.
Maintenance and Care
Regular upkeep is vital for optimal performance! Clean the flame sensor and remove dust to ensure efficient heating and a vibrant flame effect.
Cleaning the Flame Sensor
Maintaining a clean flame sensor is crucial for consistent heater operation and a realistic flame appearance. Over time, dust and debris can accumulate on the sensor, hindering its ability to accurately detect the flame and potentially causing malfunctions. To clean the sensor, carefully locate it within the heater – typically near the simulated flame area.
Disconnect the heater from power before proceeding. Gently remove the flame sensor and inspect it for any visible buildup. Use fine sandpaper to delicately clean the sensor’s surface, removing any accumulated residue. Avoid using harsh chemicals or abrasive cleaners, as these could damage the sensor.
Reinstall the sensor, ensuring it makes proper contact with the flame area. Power on the heater and observe the flame effect. If the issue persists, slightly adjust the sensor’s position until a stable and vibrant flame is achieved. Regular cleaning, as part of your routine maintenance, will help prolong the life of your Duraflame heater and ensure optimal performance.
Dust Removal and Ventilation
Regular dust removal is paramount for safe and efficient Duraflame heater operation. Dust accumulation can restrict airflow, leading to overheating and potential malfunctions. Before cleaning, always disconnect the heater from the power source. Use a soft, dry cloth to wipe down the exterior surfaces, paying close attention to ventilation openings.
Internally, carefully vacuum the heater’s interior, focusing on areas where dust tends to collect, such as around the heating elements and fan. Ensure adequate ventilation around the heater during operation; maintain a minimum clearance of at least 18 inches from walls and furniture.
Restricted airflow can compromise the heater’s performance and pose a fire hazard. Consistent cleaning and proper ventilation contribute significantly to the longevity and safety of your Duraflame heater, ensuring years of reliable warmth and ambiance. Inspect vents regularly for obstructions.
Advanced Troubleshooting
For complex issues, examine overheating protection, cord integrity (avoiding hot wiring), and flame effect malfunctions – contact the manufacturer for assistance promptly.
Overheating Protection and Reset
Duraflame heaters are equipped with a crucial overheating protection system designed to automatically shut off the unit if it reaches an unsafe temperature. This safety feature prevents potential fire hazards and ensures user well-being. If your heater shuts off unexpectedly, do not attempt to restart it immediately.
First, unplug the heater from the power outlet and allow it to cool down completely – this may take 30-60 minutes. Once cooled, inspect the air intake and exhaust vents for any obstructions like dust, lint, or debris. Clear any blockages to ensure proper airflow. After verifying clear vents and sufficient cooling, plug the heater back in and attempt to power it on.
If the heater continues to shut off, there may be an internal component malfunction requiring professional attention. Do not disassemble the heater yourself, as this could void the warranty and pose a safety risk. Contact Duraflame customer support for further assistance and potential repair options. Ignoring repeated overheating shutdowns can lead to permanent damage or a fire hazard.
Cord and Wiring Issues (Potential for Hot Wiring)
A critical safety concern with Duraflame heaters involves the power cord and internal wiring. Reports indicate instances of cords and wiring becoming excessively hot, even to the point of smelling burnt, potentially leading to a fire. Immediately discontinue use if you detect any burning smell or observe the cord becoming warm to the touch.
Never attempt to repair damaged wiring yourself. This is extremely dangerous and could result in electric shock or fire. Inspect the power cord regularly for cracks, fraying, or other signs of damage. If any damage is found, replace the entire cord – do not attempt a temporary fix. Ensure the heater is plugged directly into a wall outlet, avoiding extension cords or power strips, which can contribute to overheating.
If you suspect “hot wiring,” unplug the heater and contact Duraflame support or a qualified electrician for inspection and repair. Ignoring this issue poses a significant fire risk and could compromise your safety. Prioritize safety and professional assistance when dealing with electrical components.
Malfunctioning Flame Effect
A common issue reported with Duraflame heaters is a malfunctioning flame effect. This can manifest as a flickering, dim, or completely absent flame, even when the heater is operating correctly. Often, dust accumulation on the flame sensor is the primary culprit. Carefully cleaning the flame sensor with fine sandpaper can often restore the flame effect – ensure proper contact after reinstallation.
If cleaning the sensor doesn’t resolve the issue, inspect the bulb or LED responsible for projecting the flame. A burnt-out bulb or faulty LED will require replacement. Always disconnect the heater from power before attempting any internal inspection or component replacement. If the problem persists after these steps, it may indicate a more complex internal issue.
Contact Duraflame support for further assistance or to explore potential repair options. A malfunctioning flame effect doesn’t necessarily indicate a safety hazard, but it diminishes the heater’s aesthetic appeal and may signal an underlying problem.

Contacting Support
For dedicated assistance, reach out to Duraflame directly via email or phone for expert guidance, warranty claims, or complex troubleshooting needs.
Manufacturer Contact Information
Duraflame’s commitment to customer satisfaction extends beyond providing quality heaters; they offer comprehensive support for all your needs. For immediate assistance, or to discuss specific concerns regarding your Duraflame heater, reaching out directly to the manufacturer is highly recommended. While specific contact details can evolve, generally, you can find up-to-date information on their official website.
Typically, Duraflame provides a dedicated customer service phone line for direct conversation with a support representative. Additionally, an email support channel allows for detailed inquiries and documentation submission. Their website often features a comprehensive FAQ section addressing common issues, potentially resolving your problem quickly without needing direct contact. Remember to have your model number and purchase date readily available when contacting support, as this will expedite the assistance process. Contacting the manufacturer is the best course of action for complex malfunctions or warranty-related questions.